
Start with the right film
Check that your chosen film is suitable for the glass and location. Read the product’s installation instructions before cutting: some films need a particular application solution, edge gap or installation method. This guide introduces wet application for compatible adhesive-backed decorative films.
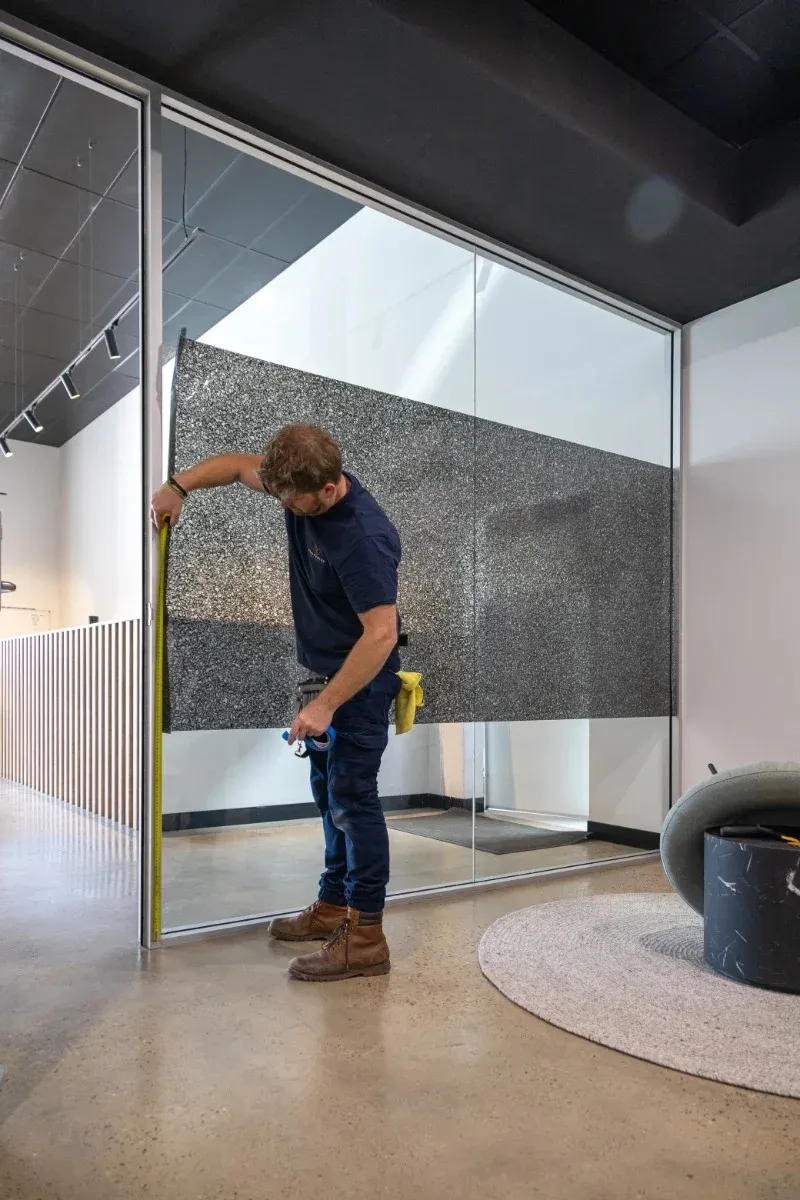
Try a sample on your glass to compare the appearance in daylight and with the room lights on. Measure each pane and check the roll width and pattern direction before ordering.
Gather your tools
Have a spray bottle, the recommended slip solution, a suitable squeegee, lint-free cloth, measuring tape and appropriate trimming tools ready. Wet application typically uses water with a little suitable soap to help the film slide into position; use the solution and dilution recommended for your product.
A clean work surface and a second pair of hands make larger pieces easier to manage.
Prepare the glass
Clean the application surface thoroughly, paying attention to the corners and edges. Remove dust and residue with tools appropriate for your glazing. Keep the surrounding frame and work area clean so debris does not find its way under the film.
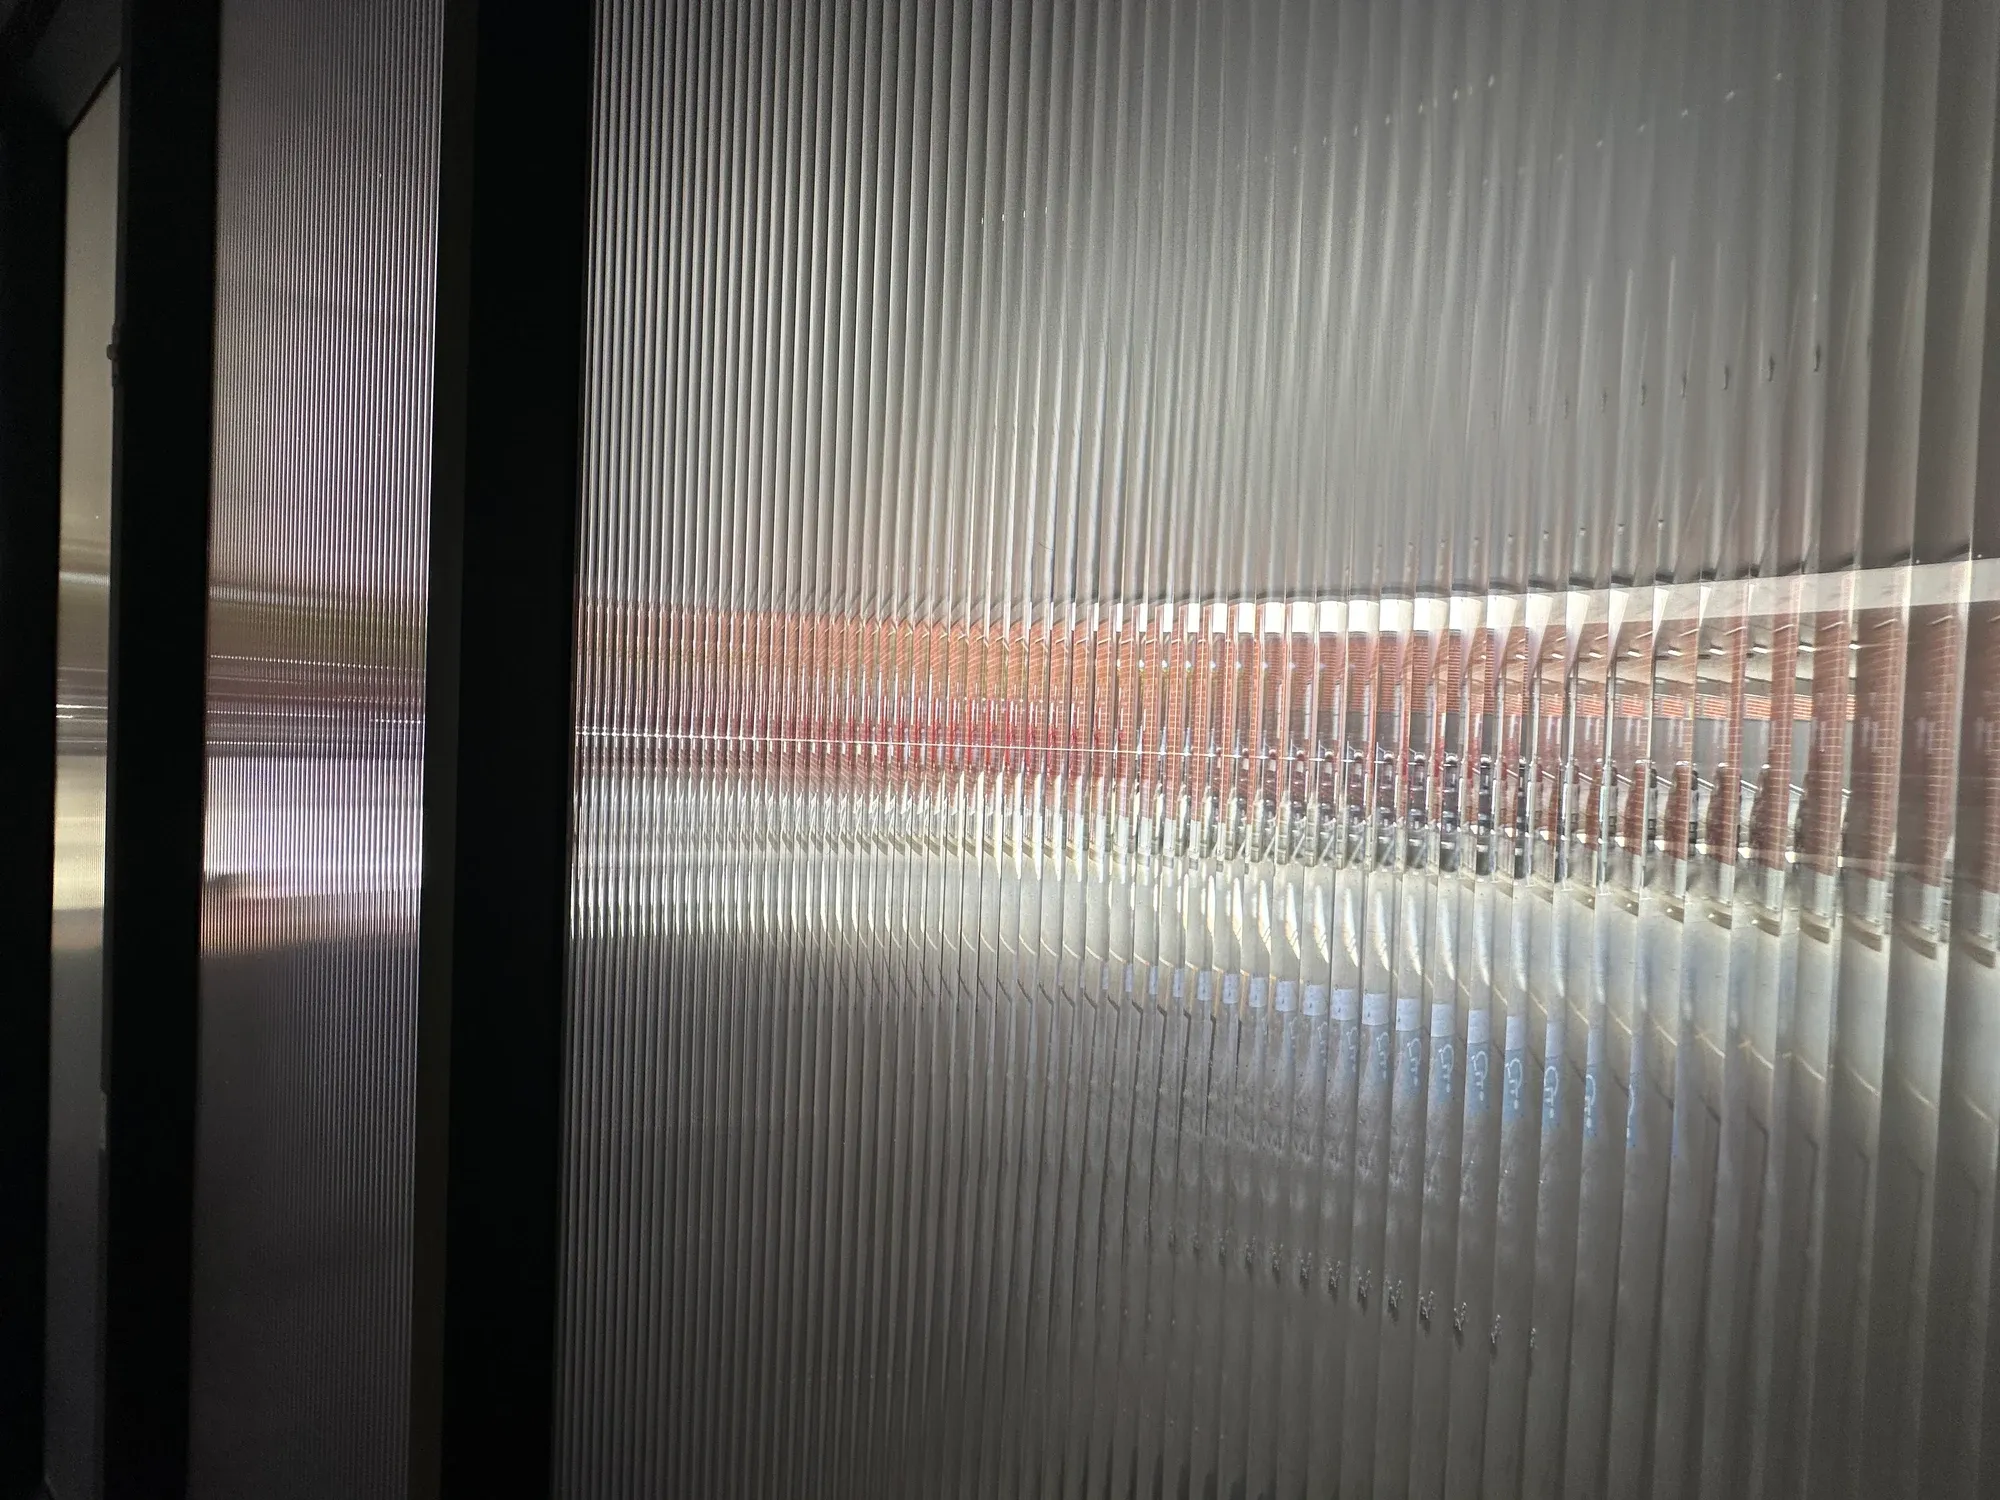
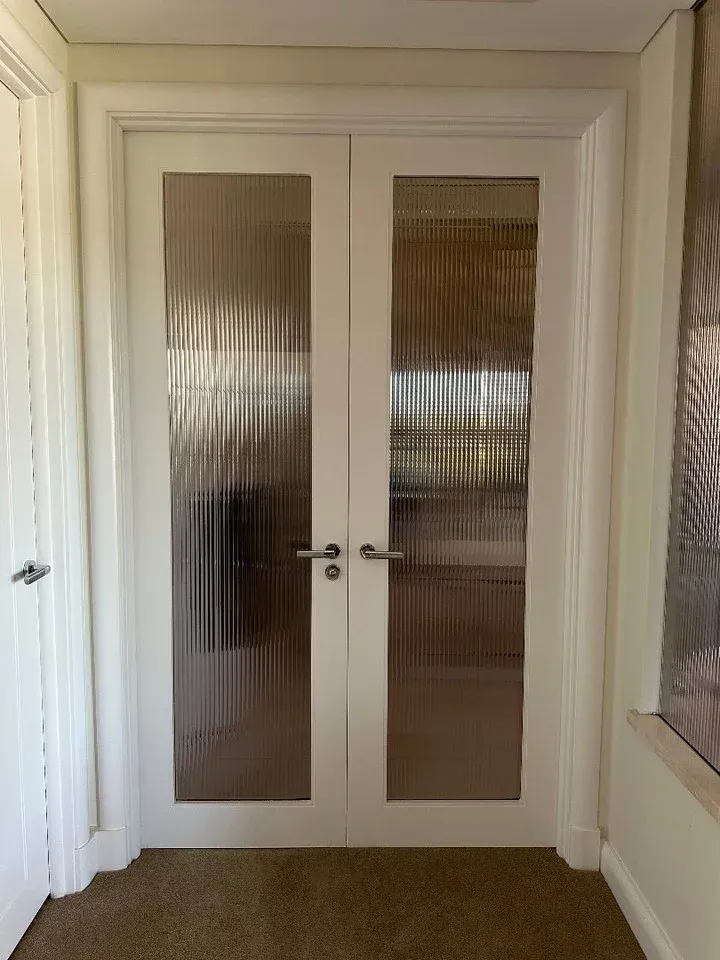
Cut the film with the allowance specified by its manufacturer. Check the direction of any reeded or patterned finish before removing the backing liner.
Wet and position
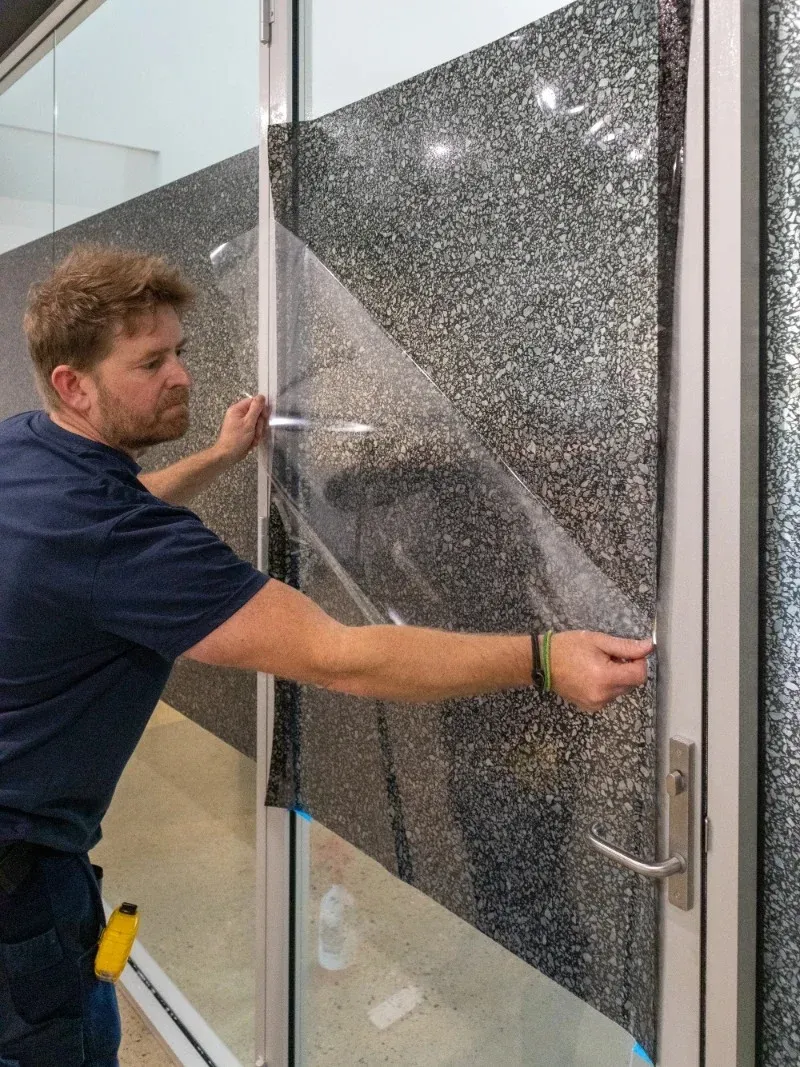
For a wet-application film, spray the glass with the recommended solution. Carefully peel away the backing liner, wetting the exposed adhesive as directed. Avoid touching the adhesive or letting it fold onto itself.
Place the film on the wet glass and gently slide it into position. Keep the pattern aligned with the pane and with any neighbouring panels.
Squeegee and trim
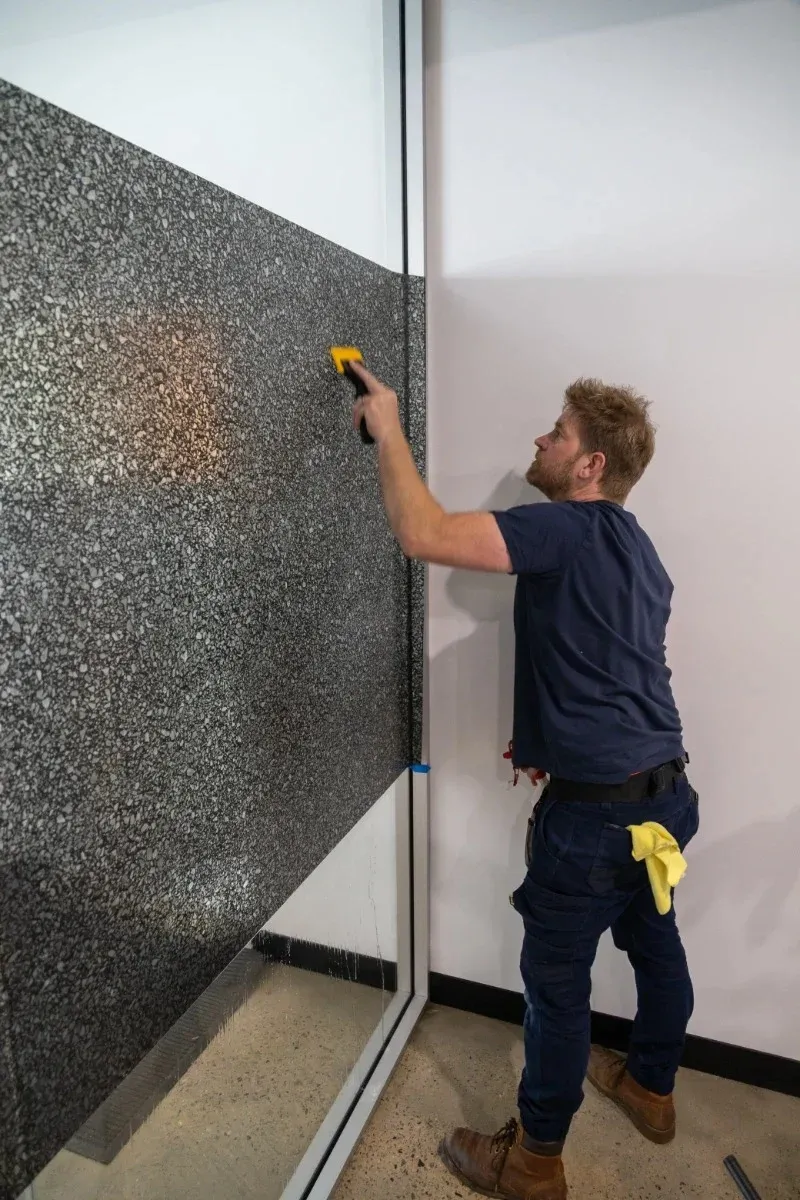
Use the recommended squeegee and working method to move water and air from the centre towards the edges. Work methodically in overlapping strokes and protect the film surface as specified by the manufacturer.
Trim to the required edge clearance using a suitable guide and tools. Wipe away excess water around the frame without disturbing the film.
Let the film settle
Curing time depends on the film, glazing and conditions. Follow the product’s instructions for when to clean the surface and which cleaning products to use. Avoid lifting an edge to inspect it while the adhesive is settling.
If something does not look right, contact us with the product details and a photo before trying to remove or rework the film.
Prefer an installer?
Footprint Creative is based in Perth and offers local installation. We supply Australia-wide and can recommend installers elsewhere, subject to local availability. Send us your project details or contact our team for help choosing the right approach.