
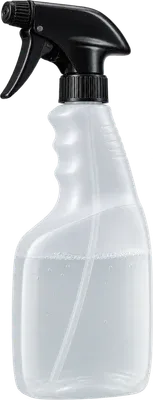
Spray bottle
For wetting the glass, adhesive and face of the film.
A practical guide to applying reeded, frosted and coloured window films. Most adhesive-backed films follow a similar wet-application process, from preparing the glass to positioning, squeegeeing and trimming.
Thoroughly clean your workspace and check over your film before you begin. Make sure you have enough material, confirm the pattern direction and keep everything you need within reach.
Gather these tools before removing the backing from your film.
For wetting the glass, adhesive and face of the film.
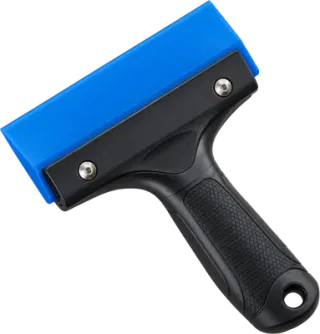
For removing dirty water from the bare glass.
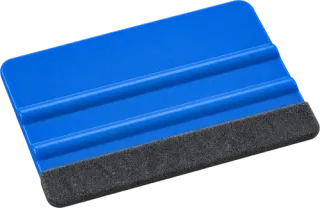
For pressing application water out from under the film.
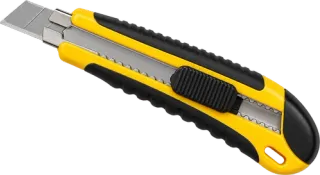
For cutting the film and trimming the edges neatly.
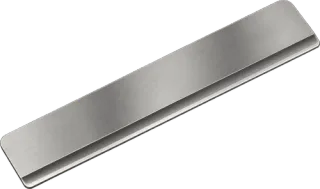
A hard card or suitable guide to keep your cut steady.
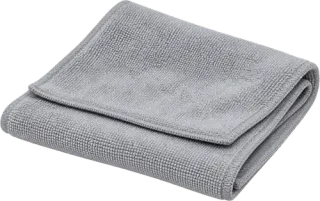
For cleaning the frame and catching runoff. Never wipe the adhesive.
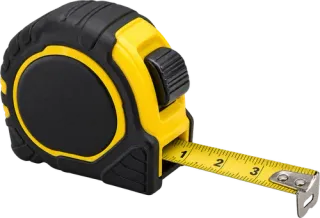
Measure every pane separately before cutting your film.
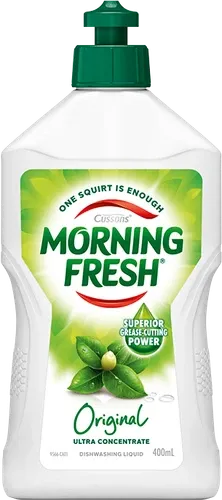
A few drops of Morning Fresh Original in water, for films that allow a soapy-water solution.
Read through the process once before starting. Then work through one pane at a time.
For this wet-application method, use a few drops of dishwashing liquid, such as Morning Fresh, per litre of water. You only need a small amount. If your film specifies a different solution or dilution, follow that instead.
The solution lets you slide the film into position before the adhesive grips. Spray it onto the glass, the exposed adhesive and the outside face of the film. Too much soap makes the sheet slide around; too little can make it grab too soon.
If you’re unsure, send us the film name, a photo and a description of what happened. We can help you decide what to do next.
Ask for installation help ↗Apply more solution to both the glass and the adhesive. If your mix is not giving enough slip, add a little more soap, within the guidance for your film. Keep both surfaces thoroughly wet while positioning.
You may have used too much soap. Mix a fresh batch with less soap. While the film is still freshly applied and can be lifted without stretching, gently peel back the top corners one at a time. Spray the glass and exposed adhesive with the fresh solution to rinse away some of the excess soap, reposition and squeegee again.
While fitting, wet the face and gently squeegee trapped water towards the nearest edge. If it will not move, check whether it is an isolated pocket or general moisture haze. Haze can clear during drying and should not be punctured.
For a stubborn isolated bubble, a tiny release point at its lowest edge is a repair technique for some films. Only use it if the instructions for your exact film permit it; otherwise send us a photo before cutting or pricking the surface.
During installation, try rinsing loose dust from the exposed adhesive with your application solution. Don’t wipe the adhesive with a cloth. If the dust is already trapped beneath film that has bonded, contact us before lifting it.
Repair depends on the type of film and how badly it is creased. Send us a photo and the product name before attempting to rework it. Do not use a heat gun near glass or pour boiling water onto it; ask us for a method suitable for your film and glazing.
For the reeded film shown in this guide, wait at least 24 hours before gentle cleaning. Use a soft cloth and avoid scrubbing the edges.
Other films have different waiting periods. For example, 3M specifies 30 days for FASARA. Follow your film’s care instructions if they require longer.
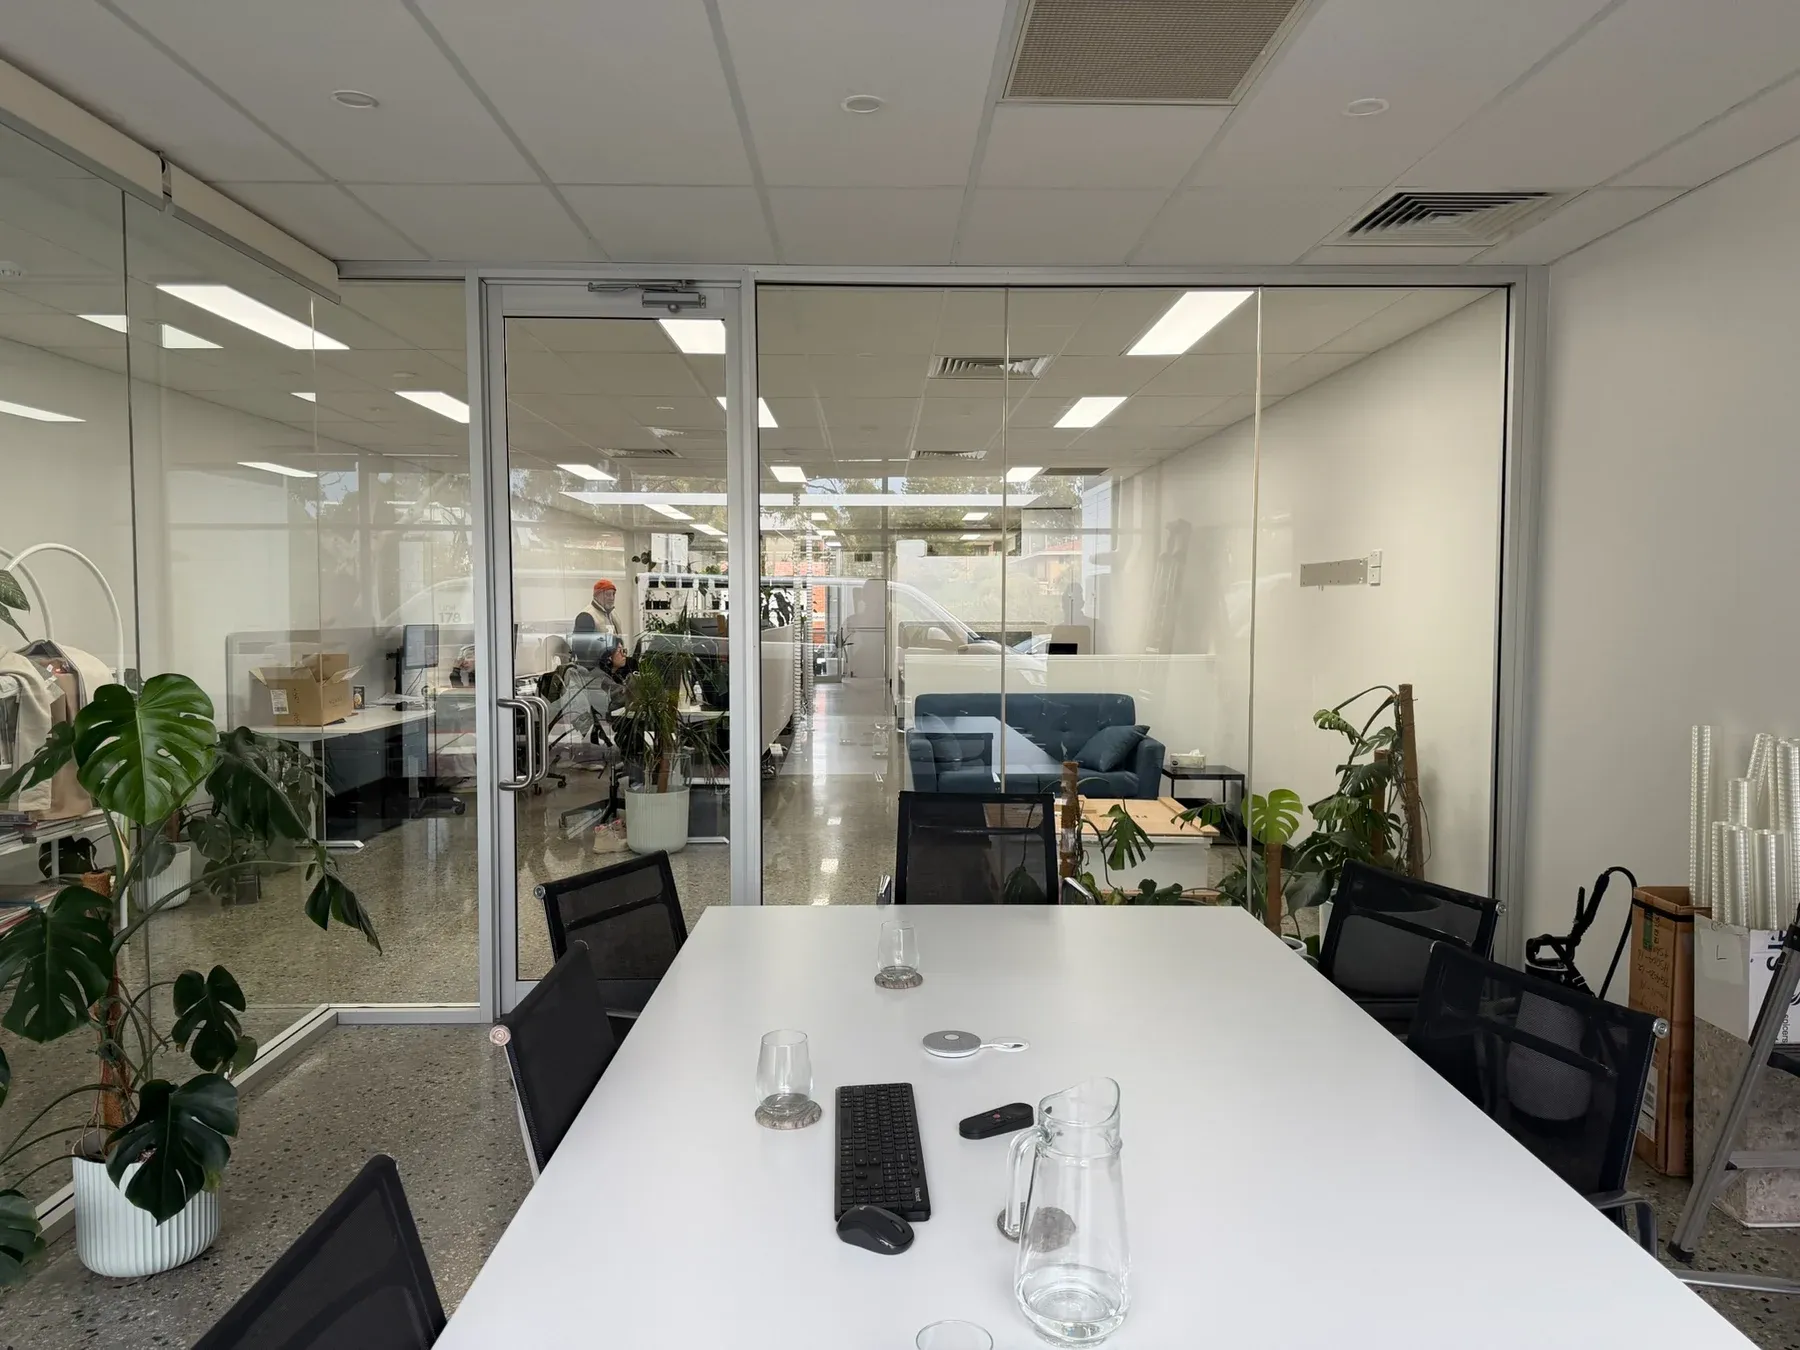
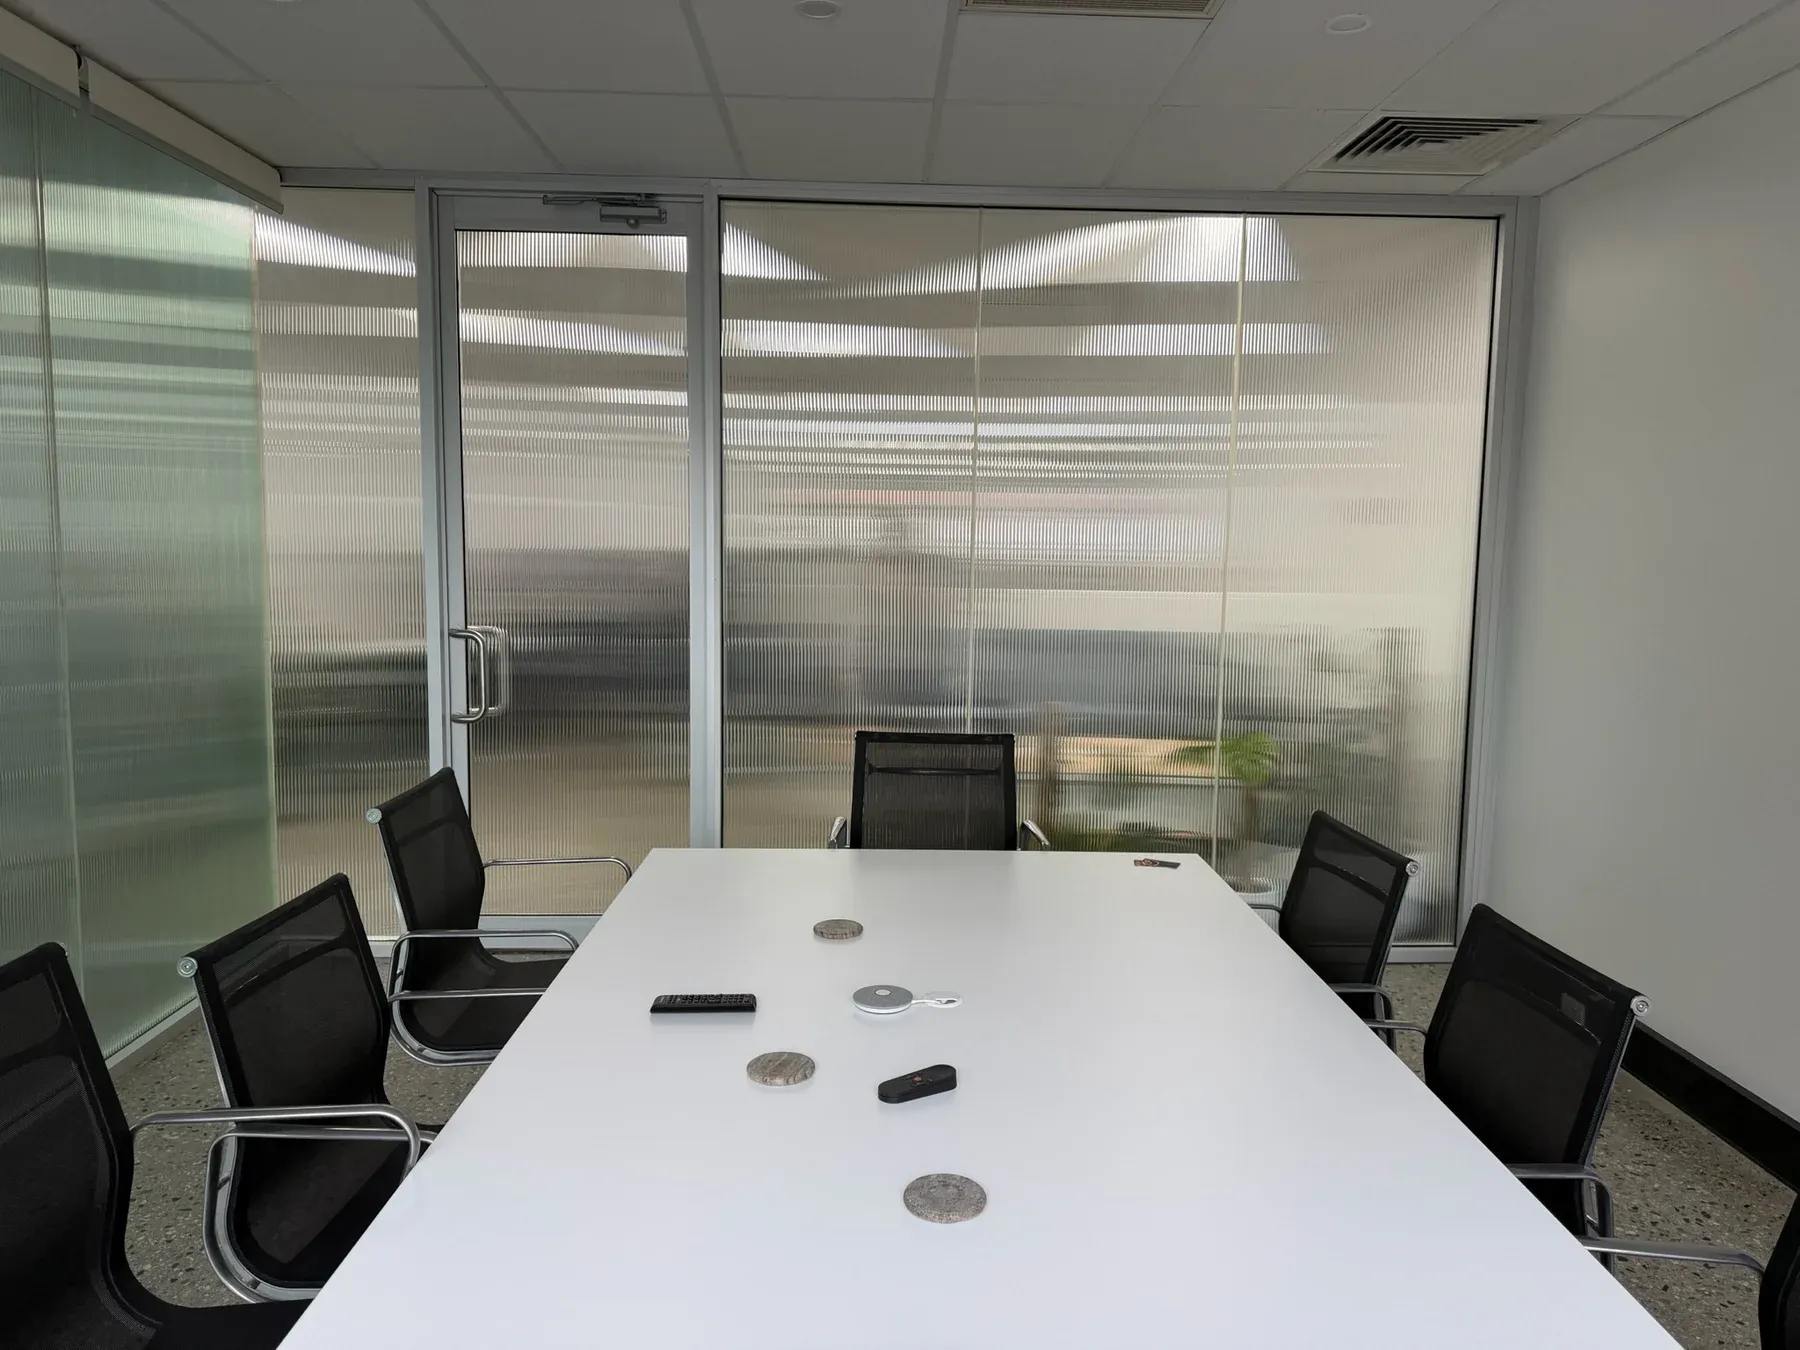
Reeded film applied to the existing meeting-room glass. These are photographs of the actual Footprint installation.